
So when I first started using my 3d printer(Ender 5) I was really enjoying the experience but over time I started to use more and more filament. Some filament I was using melt at around 245c to 280c and I still wanted to go higher to 325c!!! Sorry for the excitement, but I really wanted to push the boundaries of what I could do with this printer. I don’t know what it is really, could be my nature could also be my cheapness shining through to get the most out of anything I buy.
So here I just want to go over some of the core concepts with designing and building an enclosure, and to take a look at a few thing I did that worked well and not so well.

Failures are not always bad, for example, when you fail at something you’re trying to get better at it can reassure you on what not to do next time. Now this is kind of a broad definition of failure but it applies almost everywhere including 3D printing.
“Only those who dare to fail greatly can ever achieve greatly.” – Robert F. Kennedy
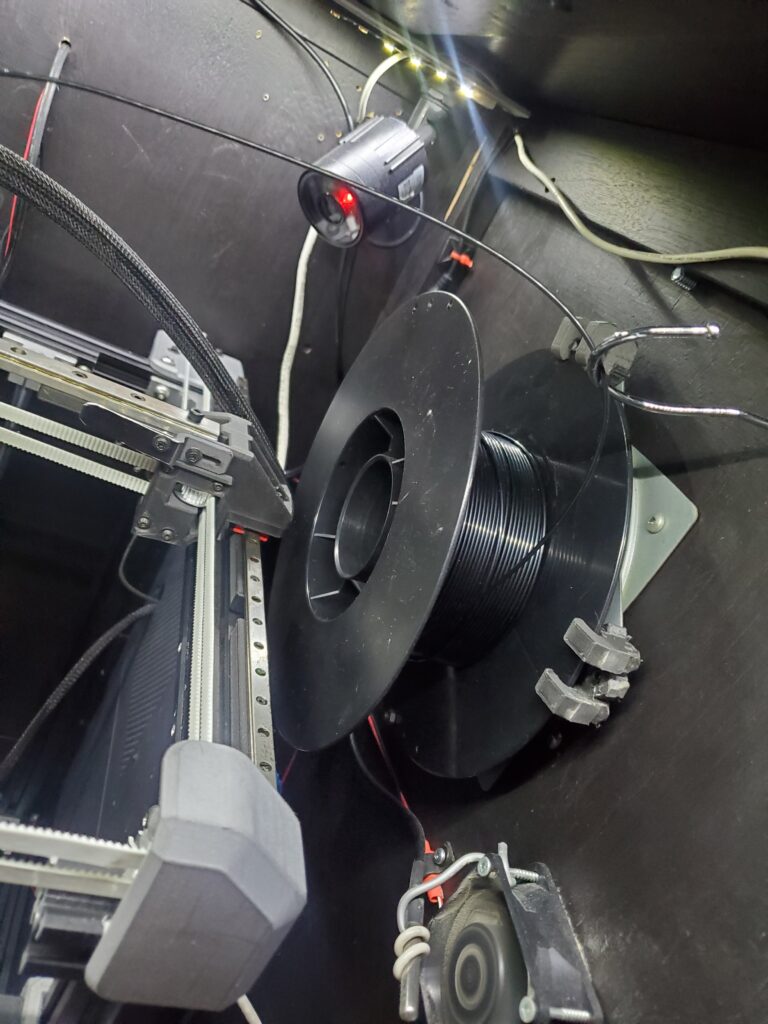
Looking at what I wanted to do originally with the filament storage doesn’t seem like its going to be worth while. First the route from the filament storage to the hot-end is too great and filled with friction making the print speed slow. When feeding the filament through from the other side(another task which I didn’t think would be so time consuming)the filament is encountering some serious resistance without some kind of feeder stepper(another thing I was thinking about but never made time to implement).
So even though that original plan didn’t work out I can still use the filament box for storage on the side of the machine, and maybe keep rolls in there in between prints when changing materials a bunch(could save some time in the end). For now I have made a few clips for a lazy susan 6″ bearing. Then mounted it to the side of the enclosure. Kind of disappointing in the end but I’ll have to live with it.
Another thing that has been giving me problems are the relays. Now I’ve had them working quite well up until a few days ago… The indicator lights on the board are still lighting up but the actual relays are not switching. So that’s another one I have to troubleshoot(funny cause I just replaced the relay board on it because the last one somehow got damaged). As of right now none of the exhaust, circulation, or intake fans work because of the relay situation.(Turned out to be an octoprint plugin or update, I reinstalled and it fixed the issue.)
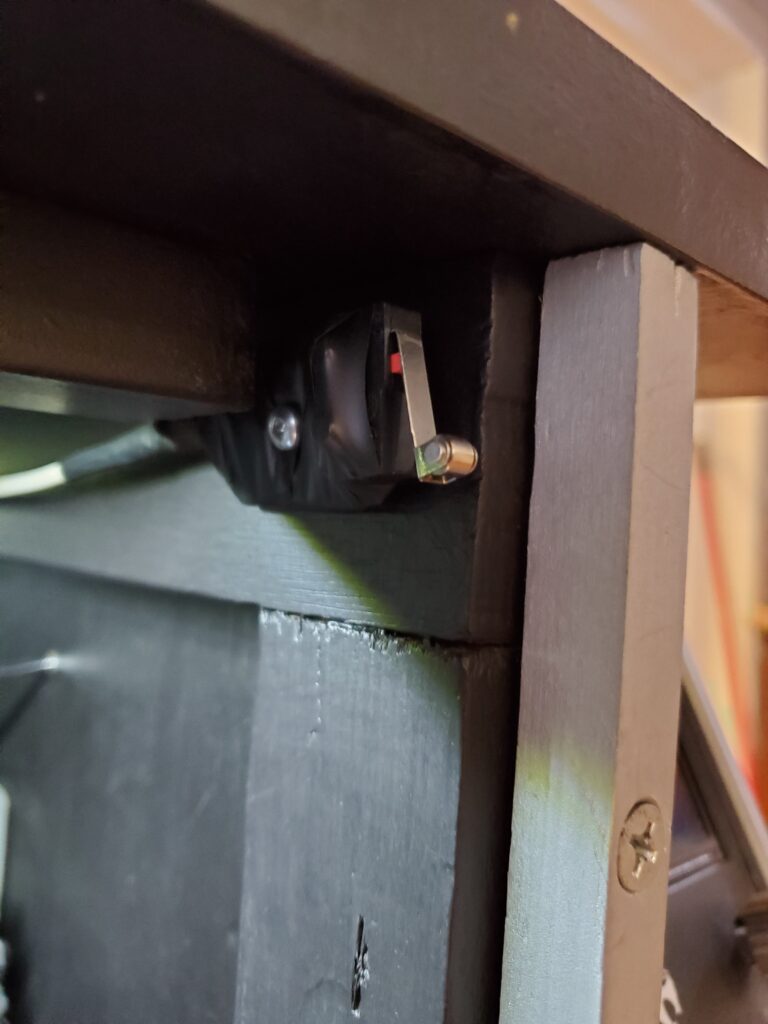
I also added a switch to the door(so that the printer would know). This basically has been put off for now, but I wanted to add the functionally to it to control the exhaust fans. However I have yet to do this.

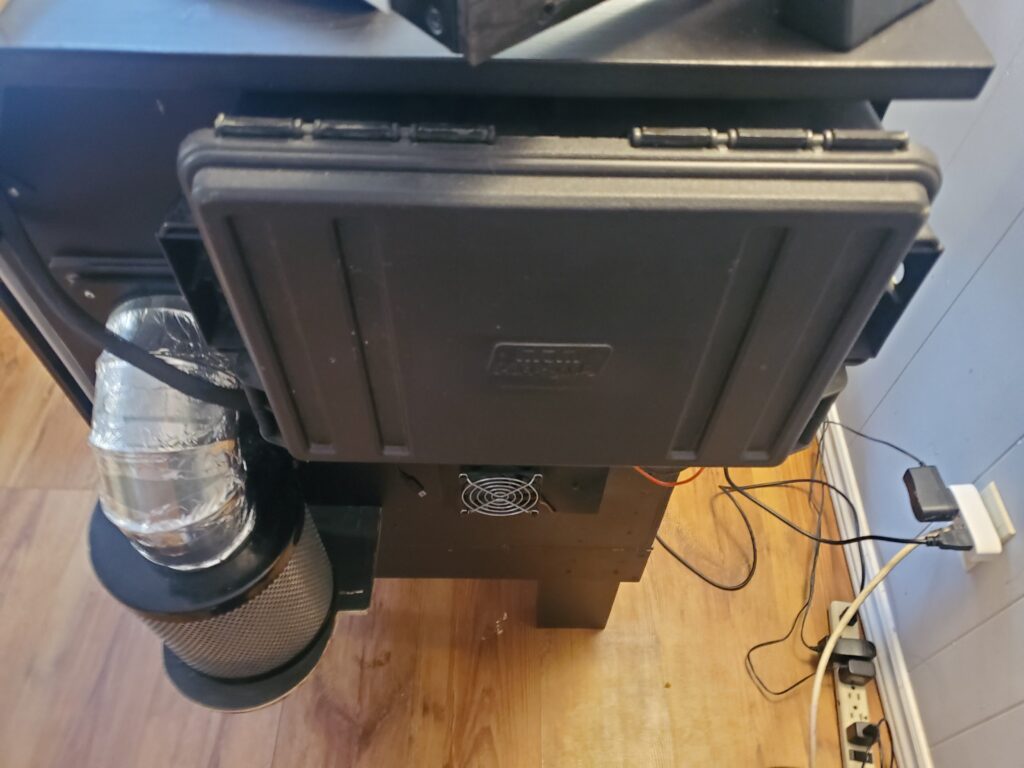

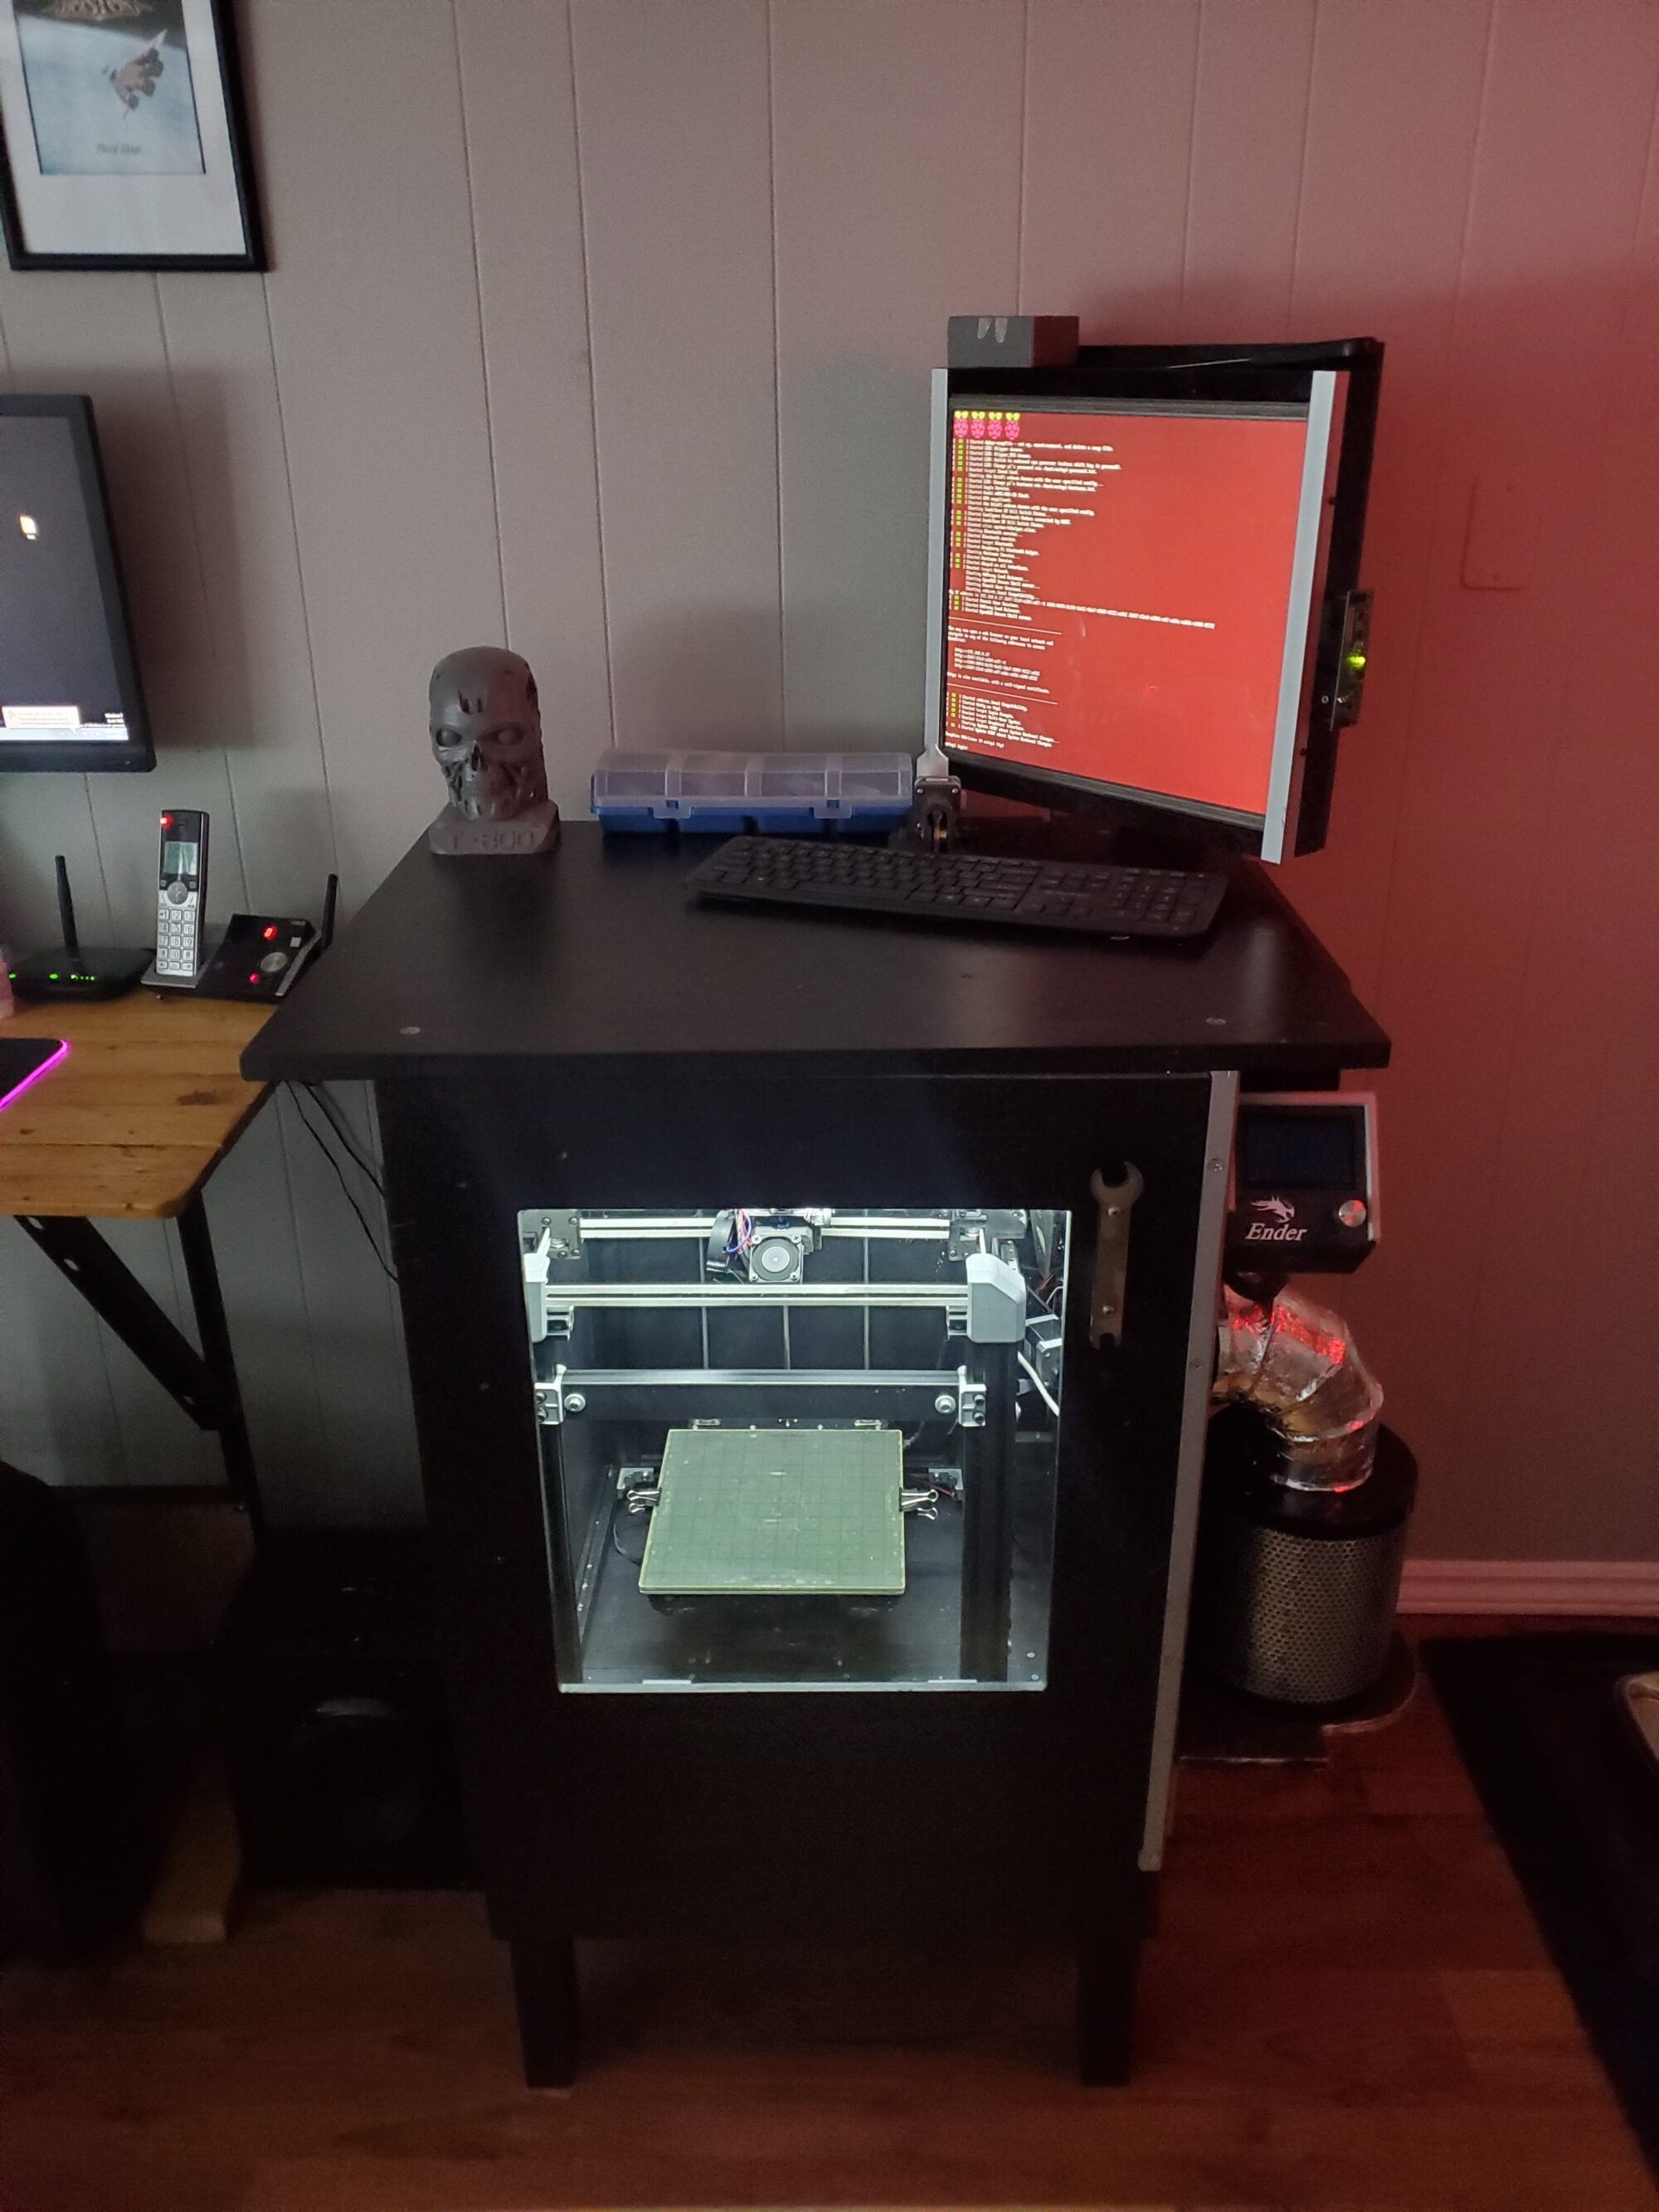
So now that I’ve talked about what didn’t work so well, lets move onto what did. First one, the construction of the enclosure, everything came together fairly well. I actually reused wood from another project and remade the floor of the enclosure the same way they make a torsion table. So the base of the whole thing is super solid and in the future I want to add some foot pads to the legs from rubber. All the parts have been sanded and painted with a few coats of BBQ enamel paint, matte black(good up to 450c). The electronics are mounted to the back(raspberry pi 3 b+, relays, 12v and 24v power supplies) and the BigTreeTech Board is mounted under the filament box so the printer display can be on the right hand side(mounted at the front).
Octoprint has been an awesome bit of software. I’ve been using it constantly for monitoring the status of my printer, and it come with some amazing plugins for using a enclosure with your printer. I installed a webcam inside the enclosure and 3 temperature sensors for monitoring ambient temperature.
Which brings me to something I was kind of thinking about(haven’t implemented it yet) doing in regard to the vibration. I’ve had this printer moving very quick sometimes with up to 10k acceleration. So I’ve been thinking about solutions to increase mass in the base of the enclosure or maybe add some type of damping medium to the base of the printer.
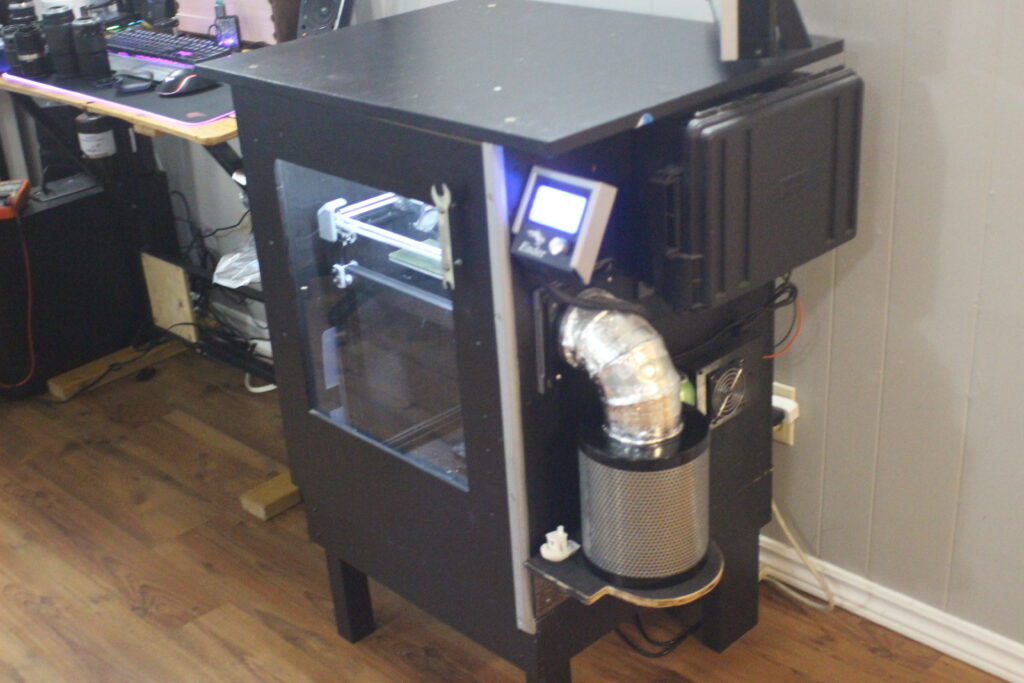
Moving on to the cooling/air circulation. The enclosure has an intake and outtake fans along with a big 12v fan set below the bed at the base facing up(for air circulation). The intake is a 120v blower style fan that runs through a mesh filter(Actively filter out dust and particle that could affect prints).

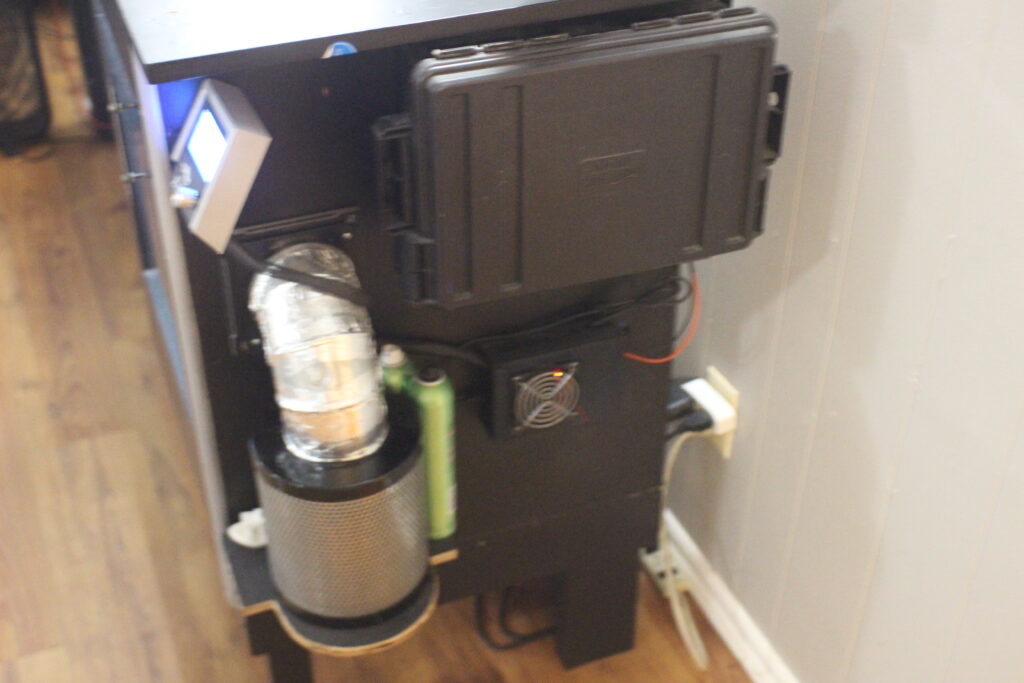
To talk a little bit more about carbon filtration. There’s a lot concern about VOCs and printer emissions in general and I’ve printed with abs several times. Now I’m located in a smaller apartment so I want to make sure that take as much precaution as possible, so I installed a carbon filter on the side of the printer where the exhaust fan is and I always try to have fan in the room pointed towards window/door.

Above you can see a picture that might look a little confusing, but basically it shows the different compounds that are produced when abs is printed(or heated) at 250c. Styrene can lead to headaches and other serious health hazards(like cancer) in higher ppm in the immediate area, so it would be ideal not to consume that. So in comes the activated carbon filter, idea here is to capture those fumes within the carbon. So far it seems to be working but I need more information to reach a conclusion on how well.

So with that being said I plan on putting together a small air quality monitor together using the esp32 and a CCS811 module. Hackaday has an excellent article and project you can put together in no time. Now they’re using the “Particle Photon” as the MCU(assuming don’t know much about the particle photon) and I’ll be using esp8266 12e so there will be a little difference there but not so much. (https://hackaday.com/2019/09/03/3d-printer-emission-monitor-quantifies-the-stench/)
The idea here would be to monitor what VOCs the printer is emitting and see is anything is coming though the carbon filter. I’m thinking not a lot mainly because after adding the carbon filter it removed all the smell.

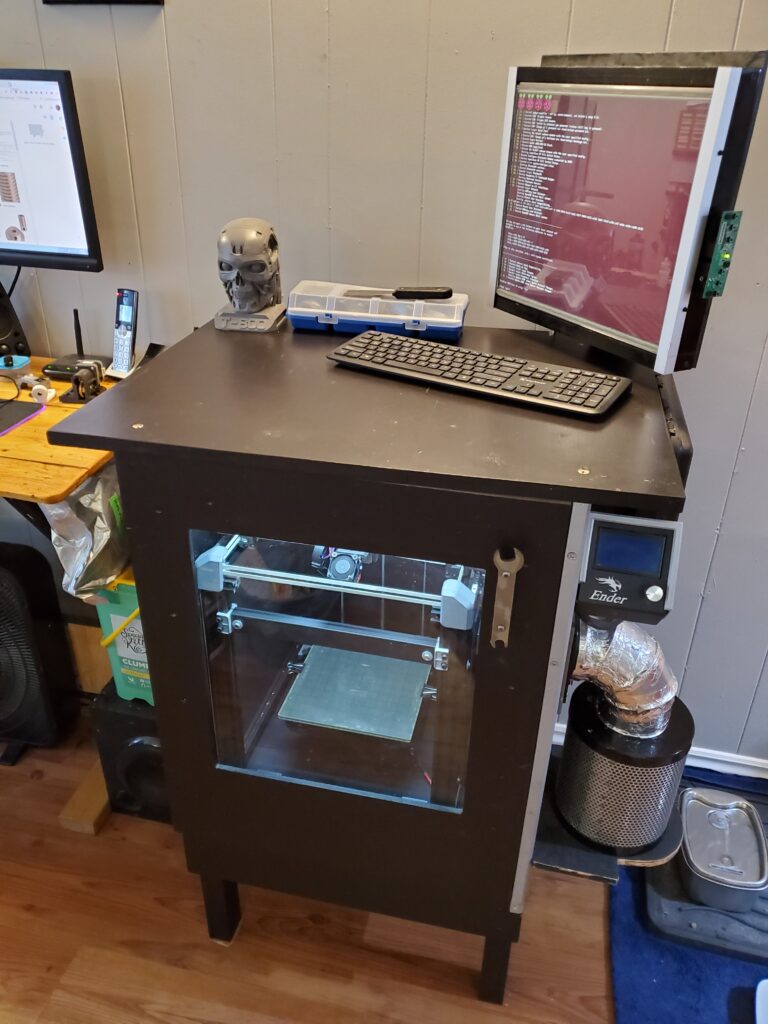
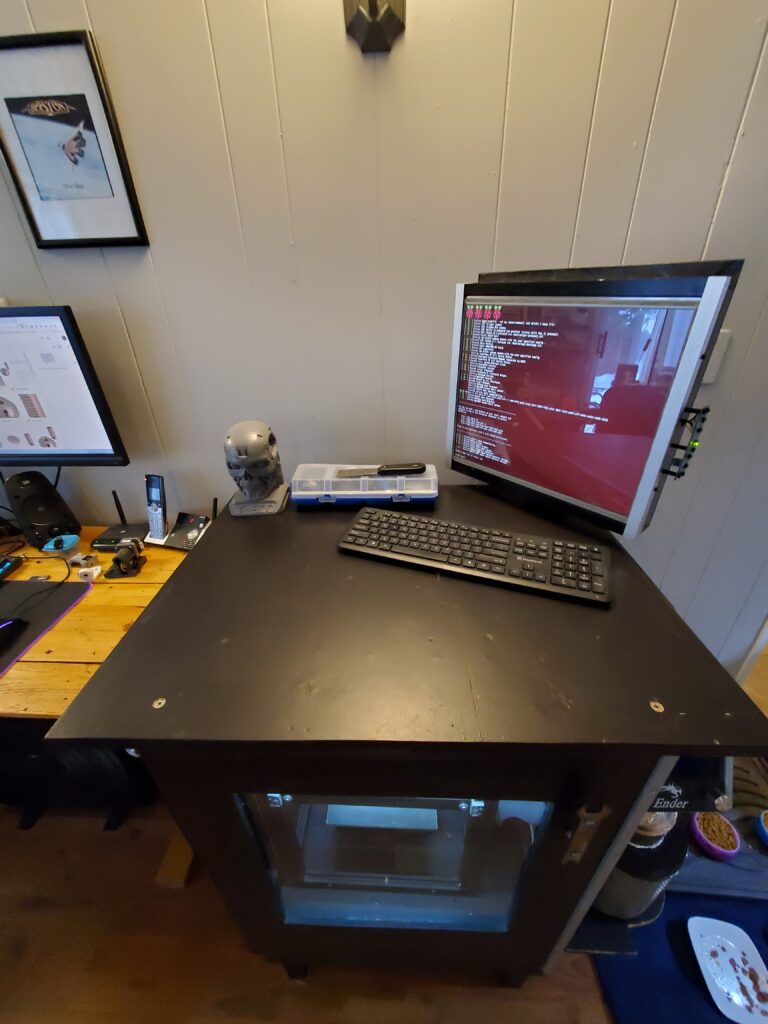


So that’s my enclosure, but of course you want to have your own. I think a lot of 3d printers don’t necessarily need one, especially if you can take advantage of draft shields, but there’s always trade offs. I made an enclosure because I had the material on hand and didn’t want to print draft shields on high temperature stuff(along with all the other advantages of an enclosure). I also wanted a space to do assemblies on top and have the ability to manage the octoprint install directly(instead of SSH in the event anything goes wrong). So far it has served me well, so lets talk about some of the ‘requirements’ for a basic enclosure.
- Solid construction, not looking to have the enclosure become a safety concern.
- Holds a set temperature and insulates from environment.
- Must have an entry point(a door) for removing prints and for doing maintenance(Can be one in the same or could have one for print removal and one for maintenance).
- Filament storage, either on the inside or outside of the enclosure.
- Electronics are another basic requirement, even if we’re just talking about a basic exhaust fan.
- Some type of status monitoring, this should be done with electronics and goes back to temperature control.
So looking at that list it can seem like a daunting task to undertake something like this especially when you get into specifics of monitoring temperature and then trying to control equipment based on those readings. I try to take things on piece by piece, one thing at a time.
So another option is to buy an enclosure and there’s nothing wrong with that and as long as it meet your needs I’d go for it. Now I felt like building one was the best option for me and looking at what I did I think anybody with the material and spare time should do it. You can customize the whole thing and really learn a lot in the process.
Some helpful links:
https://reprap.org/wiki/Heated_Build_Chamber
https://all3dp.com/2/3d-printer-filter-air-filter-3d-printer-hepa-filter/
https://en.wikipedia.org/wiki/Thermal_degradation_of_polymers
https://en.wikipedia.org/wiki/Thermogravimetric_analysis
https://wiki.keyestudio.com/KS0457_keyestudio_CCS811_Carbon_Dioxide_Air_Quality_Sensor